Using the Designer
The Designer allows you visually manipulate content of your webpage. The first time you open it, you may be overwhelmed by the option available to you. Don't worry, we'll stick to the basics needed to build pages using the components I've pre-built for you.
You are welcome to change any settings you'd like in webflow, but please be aware that changing the style or appearance of an item in one page may affect many other items throughout the site. If you need a change that is outside of these instructions, please email me first.
Accessing the Designer
You can access the Webflow Designer in one of 3 ways:
- From the dashboard — by clicking your project thumbnail
- From the project settings — by clicking the Designer button in the upper toolbar of the project
- From the Editor — by clicking the menu button at the lower left corner of the Editor and choosing Designer
Primary Tools
Along the left hand side of the designer view are the tools you'll use to create and edit your page layouts
Add Elements Button
You'll use the Add Elements button to add symbols to your layout
Navigator Panel
The navigator panel show the hierarchy and layout of your pages
https://university.webflow.com/article/navigator
Pages Panel
The pages panel is where you'll access the settings and layout for you site pages
https://university.webflow.com/article/pages-panel
Creating a Page Using Symbols
I have created symbols for you to use in your layouts. Symbols are sections of content styled to be consistent across pages
Features
Features highlight "features" of your business. You'll use these the most when creating layouts
Forms
Forms collect customer information
Videos
These symbols offer a variety of layouts for video embeds
Feeds
Feeds display content from CMS collections in a variety of layouts
Step #1 - Copy the Base Page
Open the Pages Panel -> Find the Base page -> Click the Settings Gear Icon -> Click the Copy Icon
Step #2 - Set up your new page
Your new page will be created using the "Base Page" as a template. Give the page a name and a slug. Scroll down and make sure you set at least the SEO Title and Description. These are what people see when searching on Google for your website. See the "Editor" onboarding for an overview of SEO options for pages
Step #3 - Add Your Symbol
Option #1
You can add symbols directly to you page by:
- Open your page
- From the Navigator Pane select Main
- Click the Add Elements button
- Choose Symbols
- Find your symbol and left-click to add
Option #2
You can copy symbols from the symbol template pages and paste them into your page
- Open the template page for the symbol type you'd like to add. You'll find these in the page navigator under the Templates folder
- Left-click your desired symbol and copy it using CTRL-C
- Find the page you'd like to edit in the page navigator
- Open your page
- From the Navigator Pane select Main
- Uses CTRL-V to paste the symbol in
Step #4 - Make Your Content Editable
⚠⚠⚠ - Right now any changes you make to your symbol will affect it across your site. Let's make it editable by unlinking
- Find your symbol in the Navigator
- Select it, the right click the green symbol name in the upper left of the symbol layout
- Choose Unlink from Symbol
Repeat Steps #2 & #3 until you are happy with your layout
Step #5 - Edit the Content
Go to the EDITOR and edit your page content
Preview Your Page
You can preview your page by clicking the Toggle Preview button at the top to see your page as it would look on the web. You can click the desktop / tablet / phone icons to preview across devices
Publish Your Page
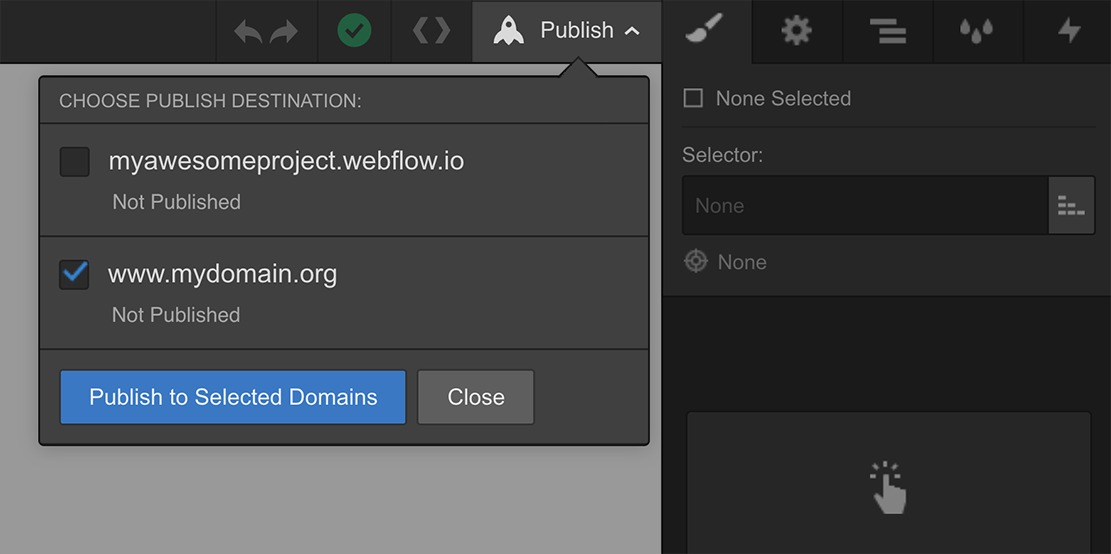
- Press publish
- Select the domain(s) you want to publish to
- Publish your project